Share with others:
How to install Windows Subsystem for Android (WSA)?

There are also emulators like Bluestacks and Nox for this, and they are undoubtedly an easier choice, and after March 2025 they will once again become the only option for accessing Android apps on a Windows PC. Unfortunately, Microsoft has decided that WSA is not on their priority list, even though it is one of the few features of the new Windows that users have regularly used and praised.
Then why are we making a guide to setup WSA on Windows 11? We still have a good half a year until the final farewell, but until then we see no reason why WSA should not continue to be used. For strictly gaming we still prefer emulators, but for general use as well as development and testing needs, WSA is equally or even more convenient.
Installing Windows Subsystem for Android (WSA)
Installation is not overly difficult, not too long, but the path is much easier with emulators. You choose an emulator, install it like any other program, go to the Google store and start downloading applications. No fiddling with settings, BIOS and installing various applications.
There are two ways to get to the Windows subsystem for Android: through the Insider program for beta testers or by installing packages directly from Microsoft sources, which is what we will do in this guide.
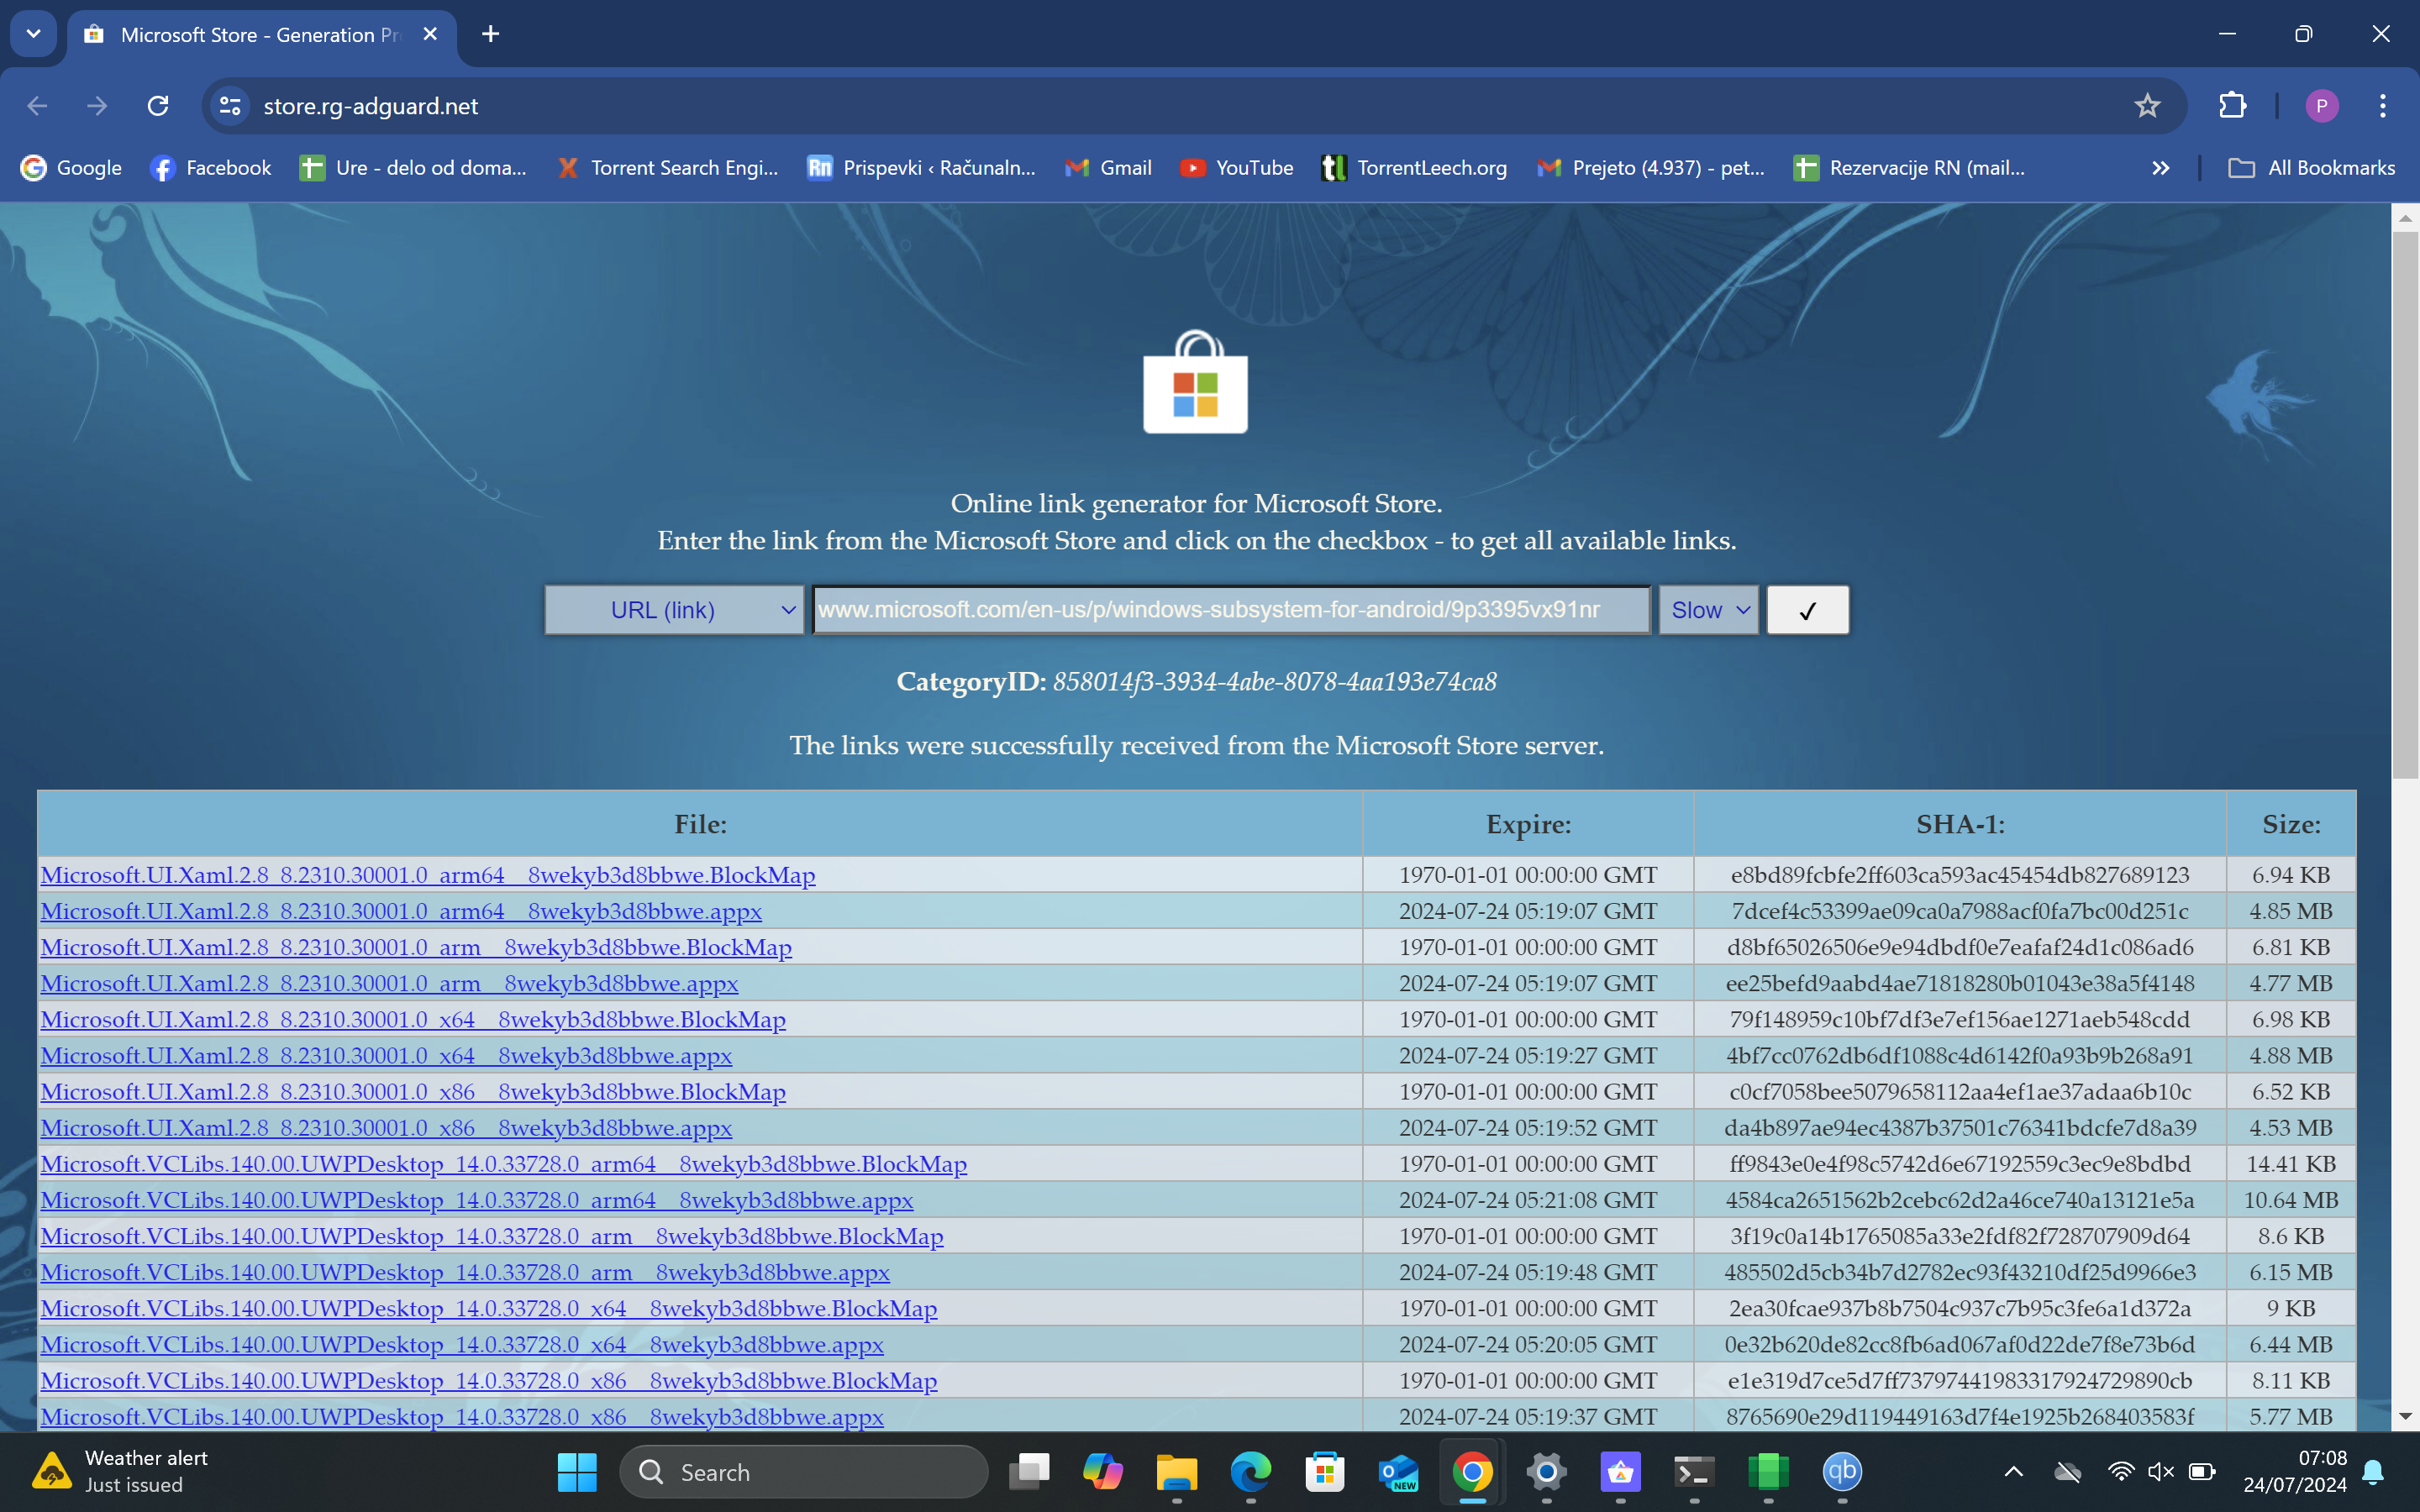
Use the Microsoft Store Generation Project website to install WSA. It obtains packages from a Microsoft server, the same server that the Microsoft Store uses to install applications on a Windows computer. It is safe to use, despite the outdated graphic image of the website. On the website, scroll to the very bottom, where you will find the latest version (in our case 2407.4) with a size of around 1.4 GB.
- Go to www.store.rg-adguard.net/
- Paste into the search window: www.microsoft.com/en-us/p/windows-subsystem-for-android/9p3395vx91nr
- Select from the drop-down menu Slow instead RP and click on the check mark.
- That being said, scroll all the way to the bottom and you'll find the latest version of MSIX. In our case, clicking on the link did not start the file download, so we had to copy the link to another browser, where the download worked without problems.
- After the download is complete, click on the file and install Windows Subsystem for Android.
After the download is complete, WSA should start automatically for you. If you encounter problems with virtualization, you will need to restart the computer and go to the BIOS settings. Find the processor settings section where you will find the option to turn virtualization on. The function is called differently on AMD and Intel processors.
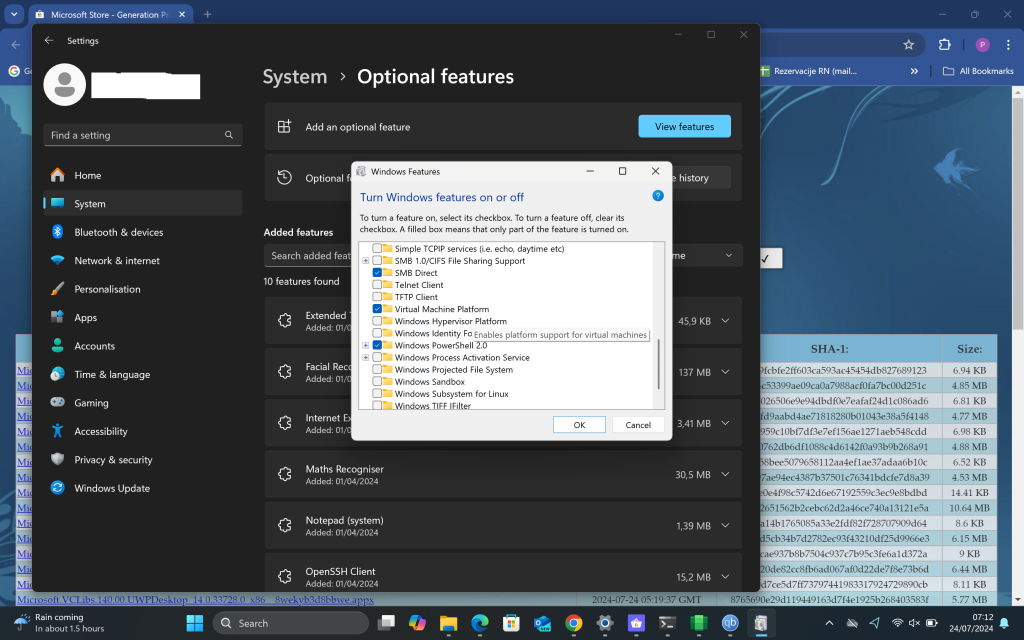
Restart your computer and WSA. There should be no error notification now. If it still happens, you will need to install the virtual machine platform. Go to the control panel or computer settings, find the section Applications → Optional Features → More Windows Features → tick Virtual Machine Platform. A computer restart will be required. If this function is not present among Applications, you will find it in the section System.
The installation of Windows Subsystem for Android is now complete. Now we can start installing various Android applications.
How to access the Google Store?
There is a way to get hold of the official Google Store and Google services. However, for this you will need to install the Windows Subsystem for Linux (WSL) and some knowledge of terminal management. Too time-consuming, especially since Aurora Store is an equivalent alternative and it only takes a few minutes to get started.
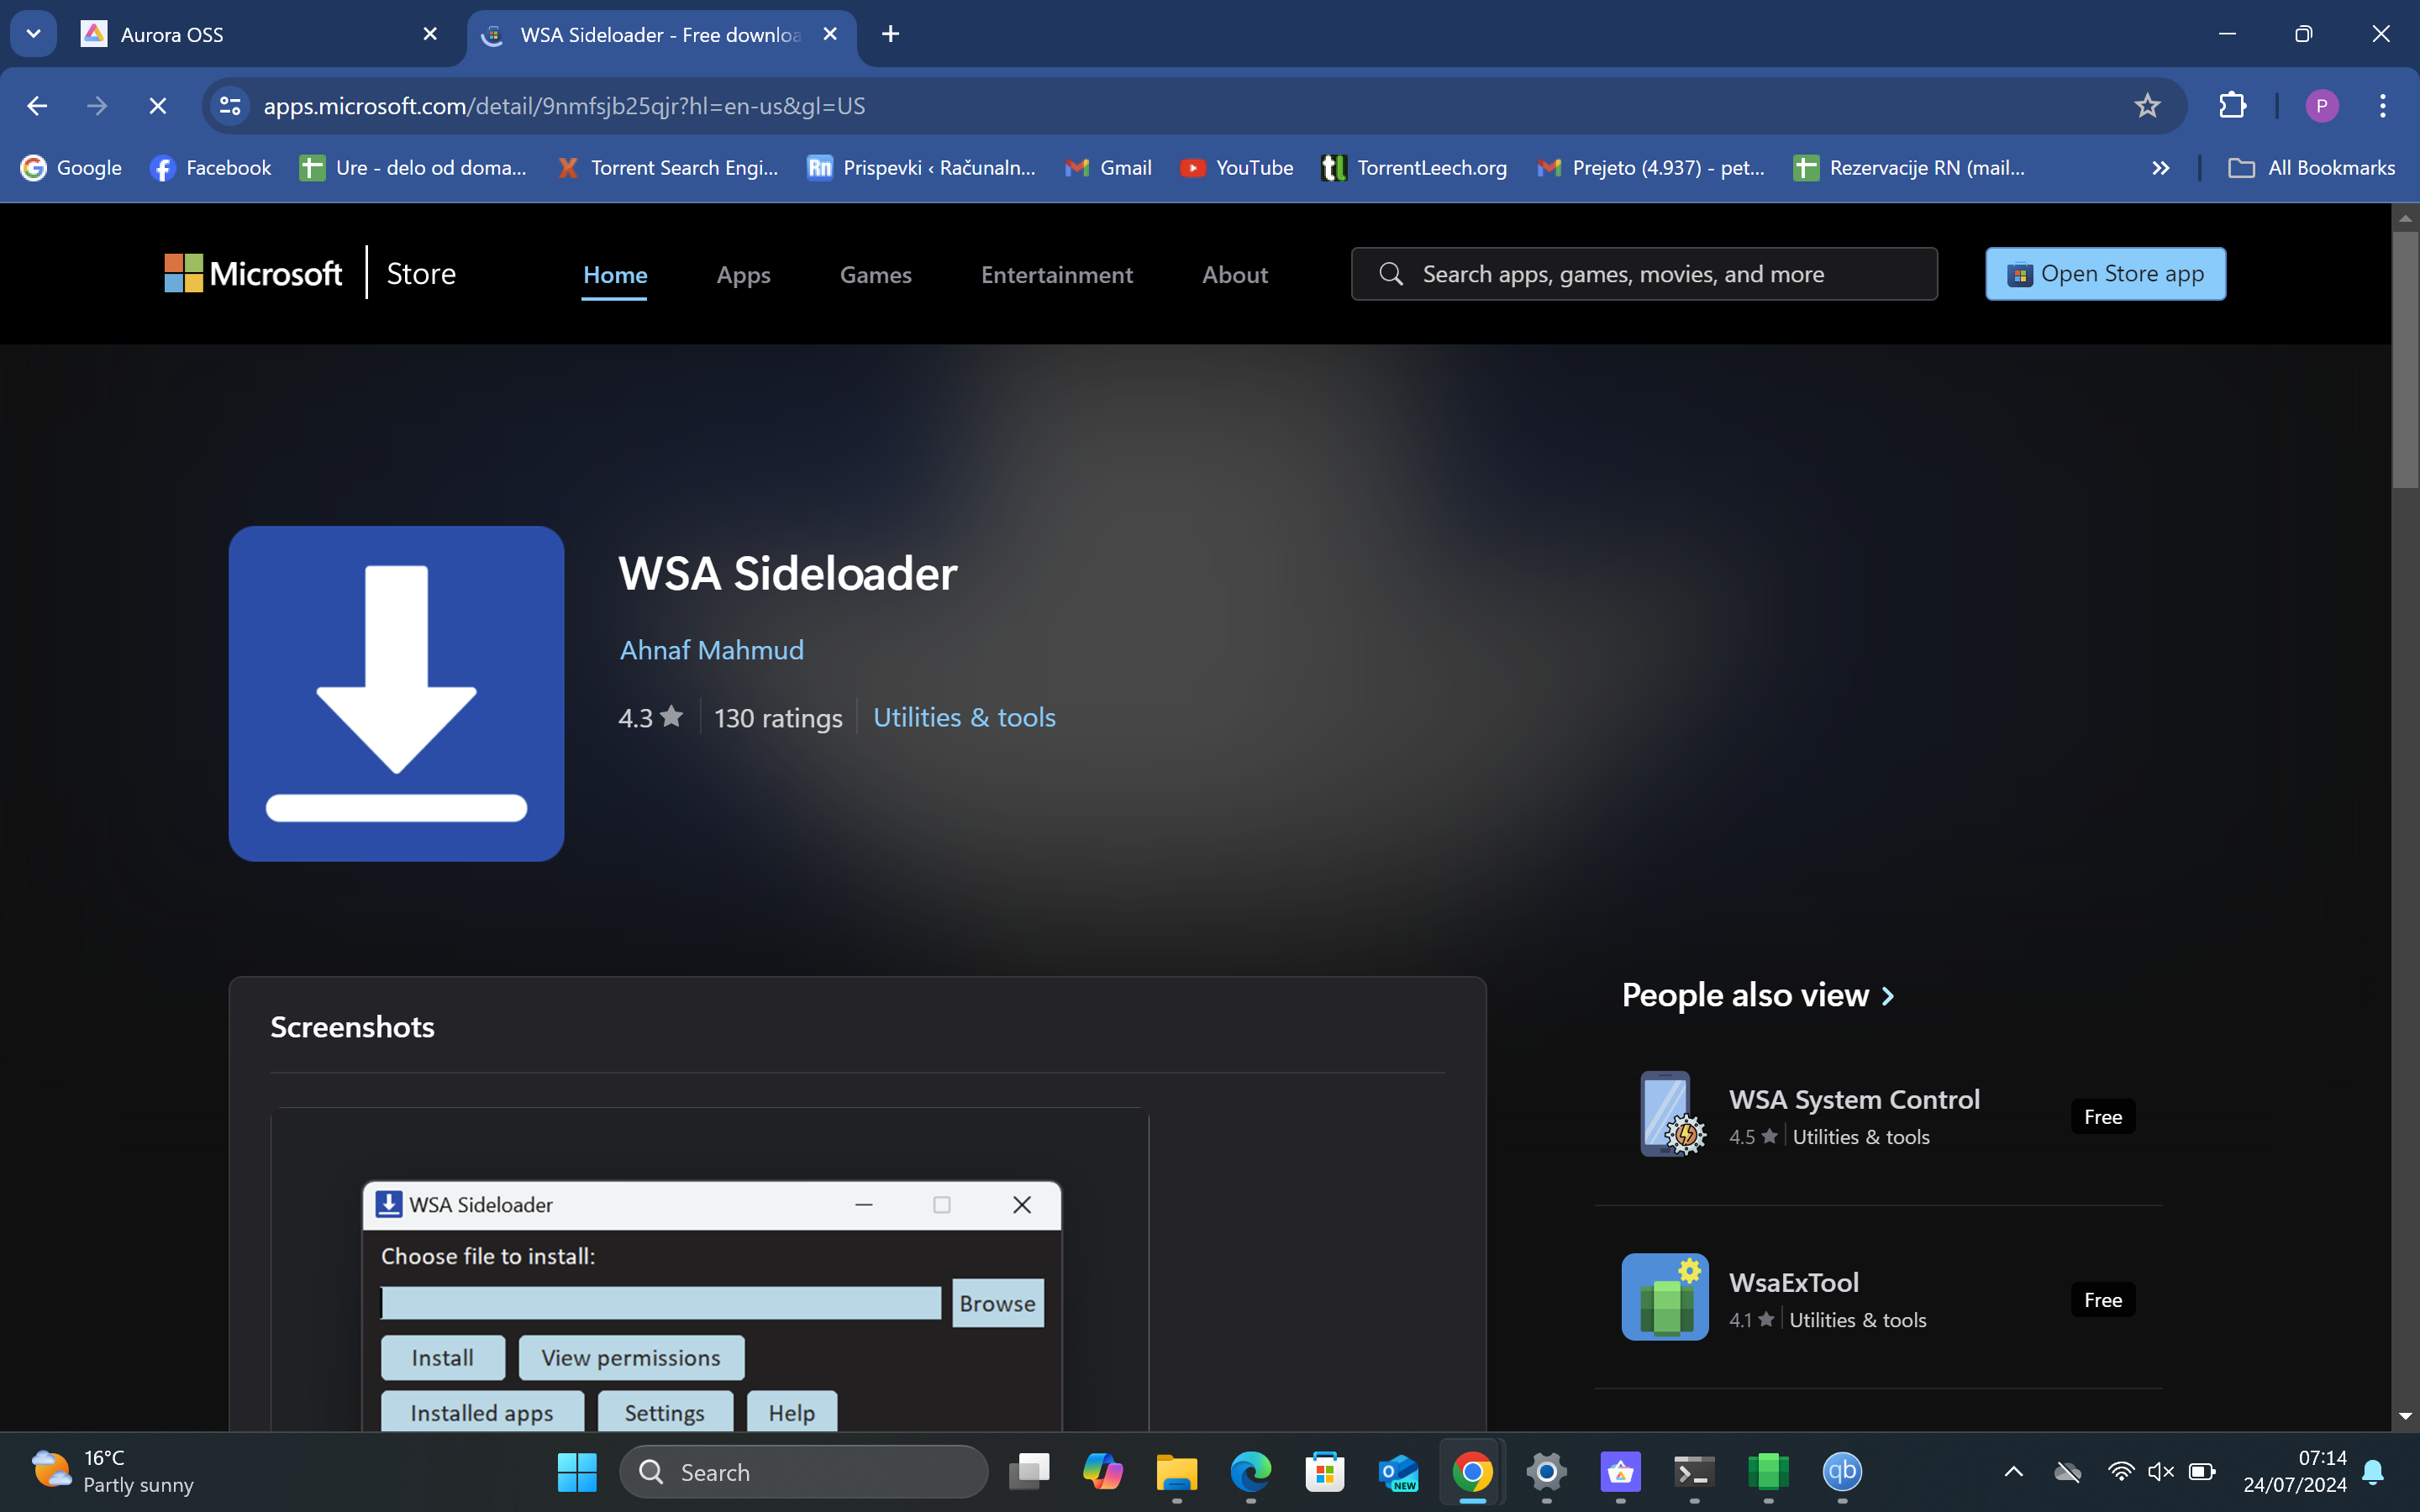
By installing WSA, we got the option of "sideloading", which means that we can download Android applications to a Windows computer and install them like any other program. But first, we need the WSA Sideloader program, which is available on the Microsoft Store.
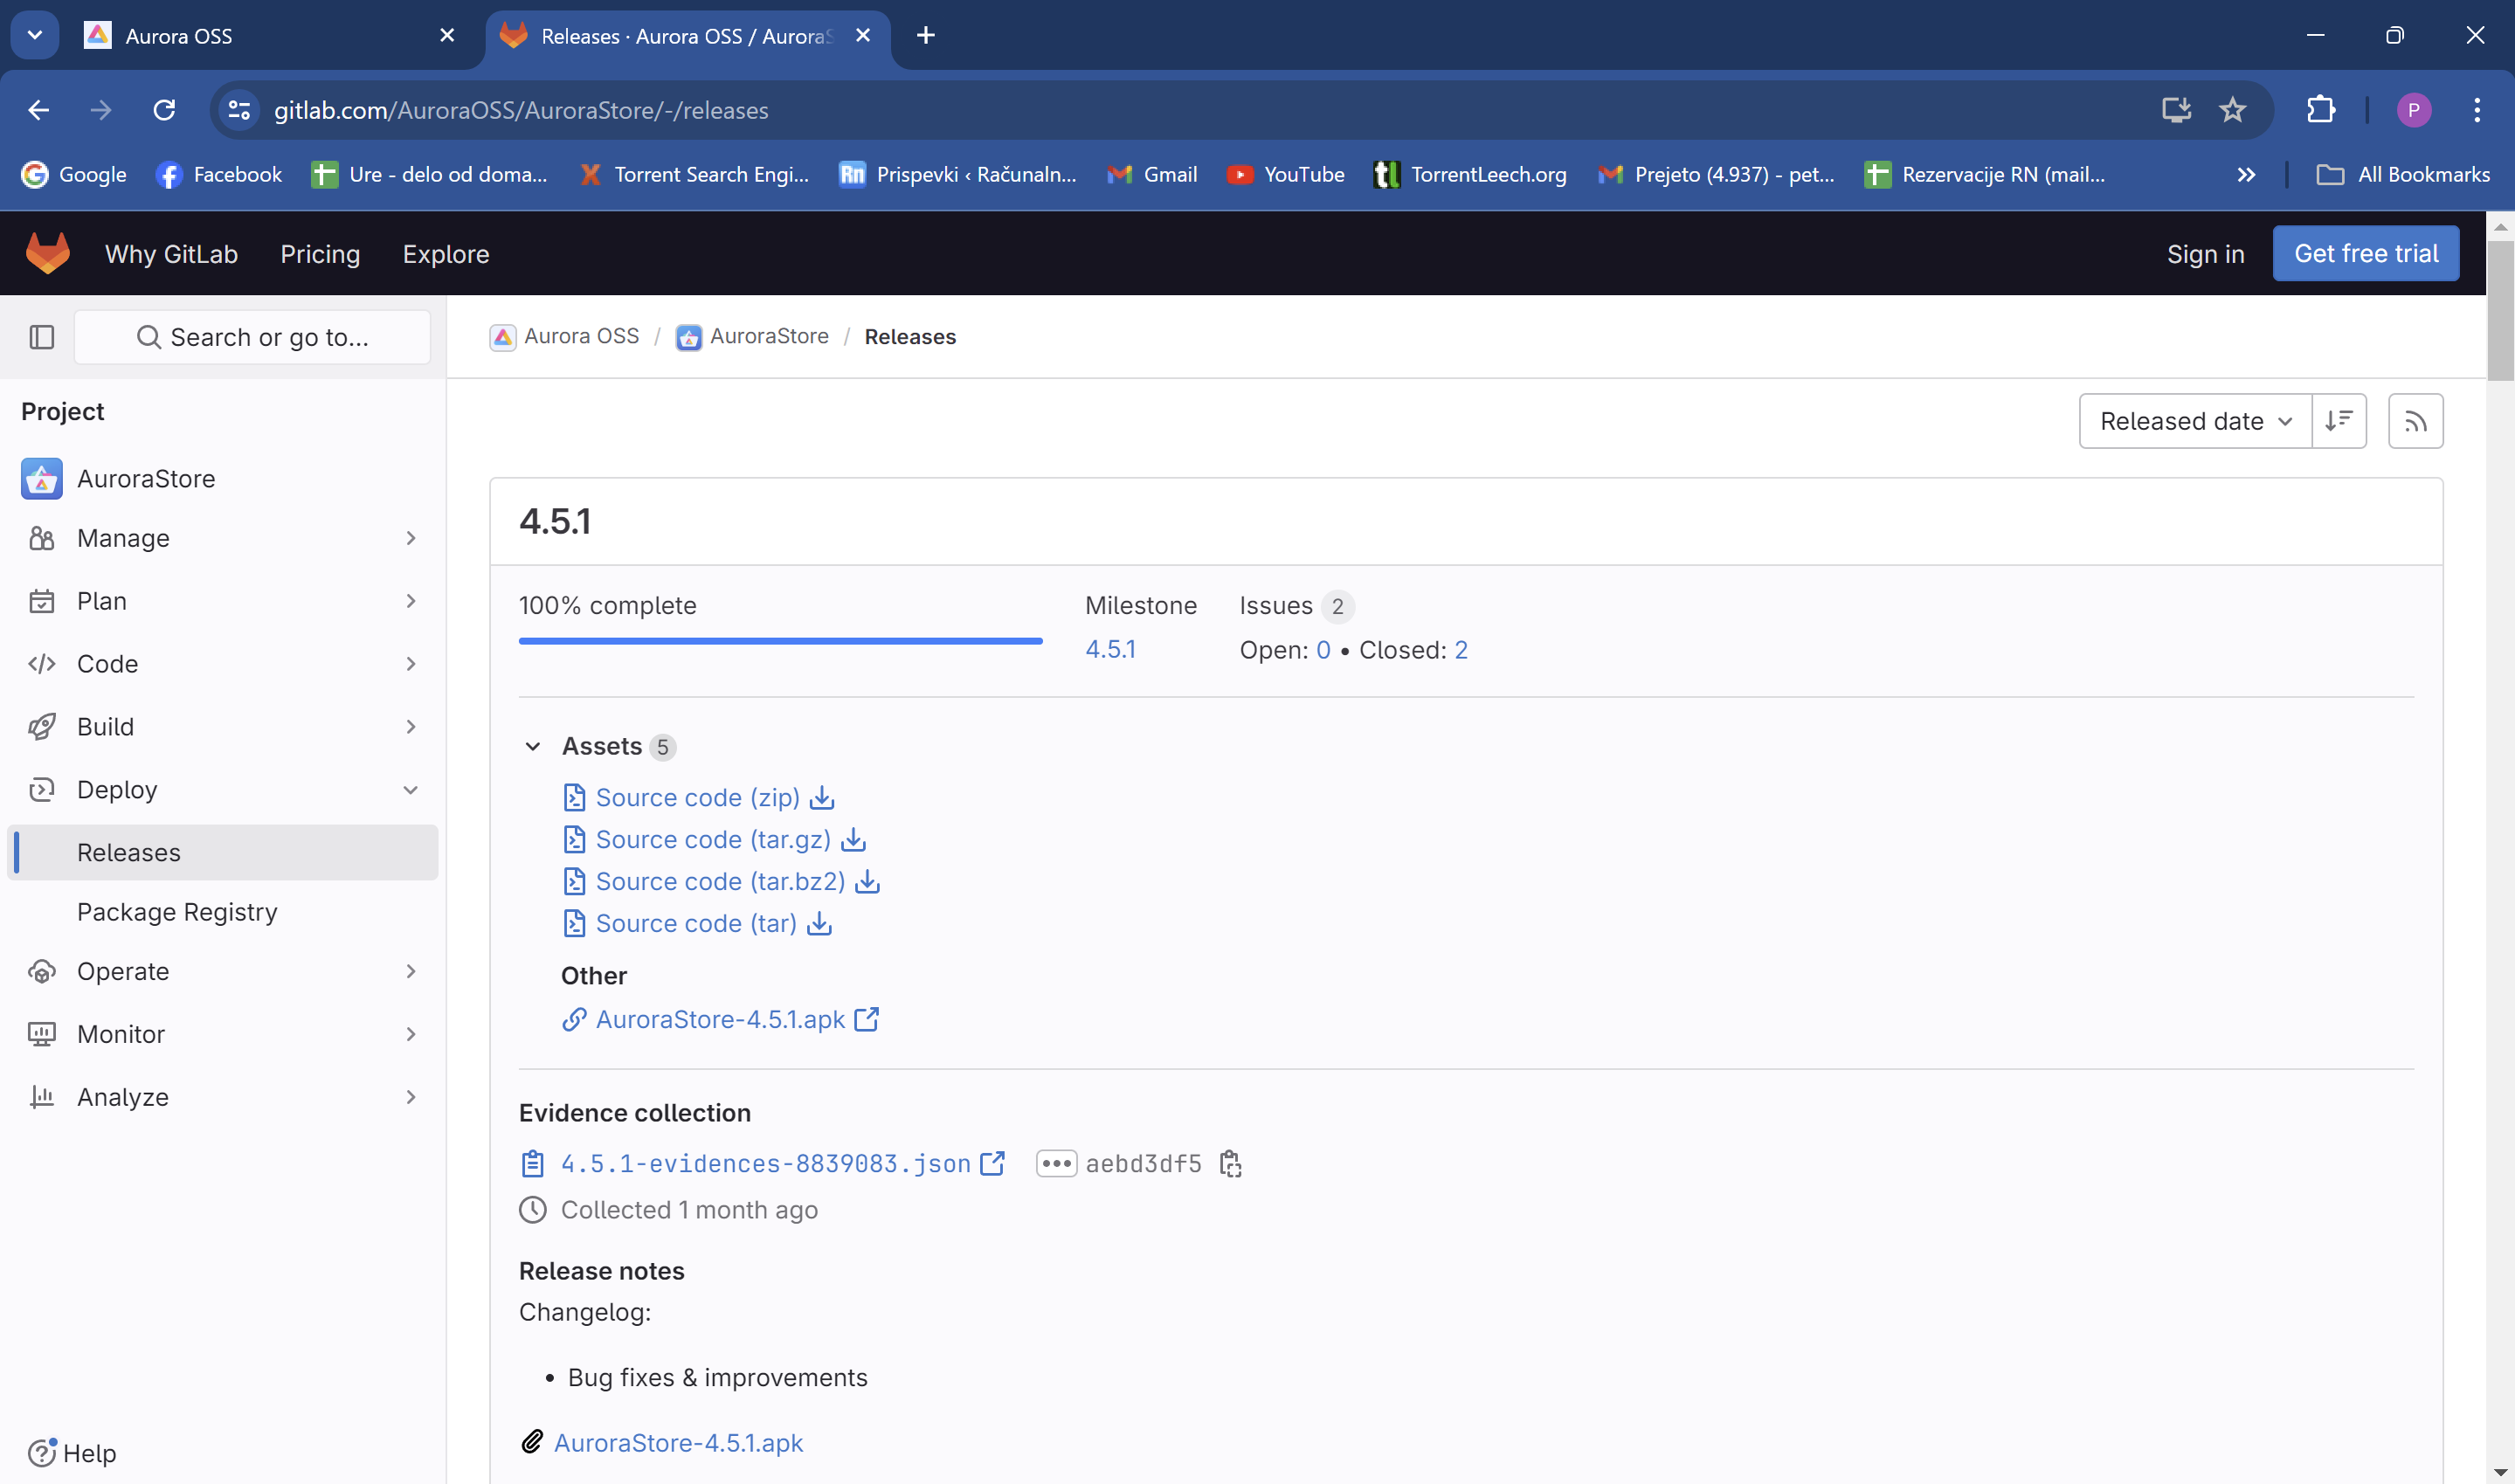
After installation, go to the official Aurora Store website and download it in .apk format. The link will take you to their Github page where you will select on the right Releases and selected in the next pop-up window AuroraStore-4.5.1.apk or the version that is the latest at that moment.
Wait for the download to complete and then double-click the file to start the installation. You should be presented with a permission approval window Android Debug Bridge. Click on allow and then follow the instructions. The Aurora Store will ask you for some permissions, after which you can start installing apps just like you're used to in the Google Store.
If you encounter problems installing the Aurora Store app, mainly due to the Android Debug Bridge, you can proceed with the installation manually.
First, you will install the Android Debug Bridge.
- Download the SDK tools from the Android Developers website. Save the file folder in an accessible location.
- Go to this folder and right-click on an empty space. Choose Open in terminal
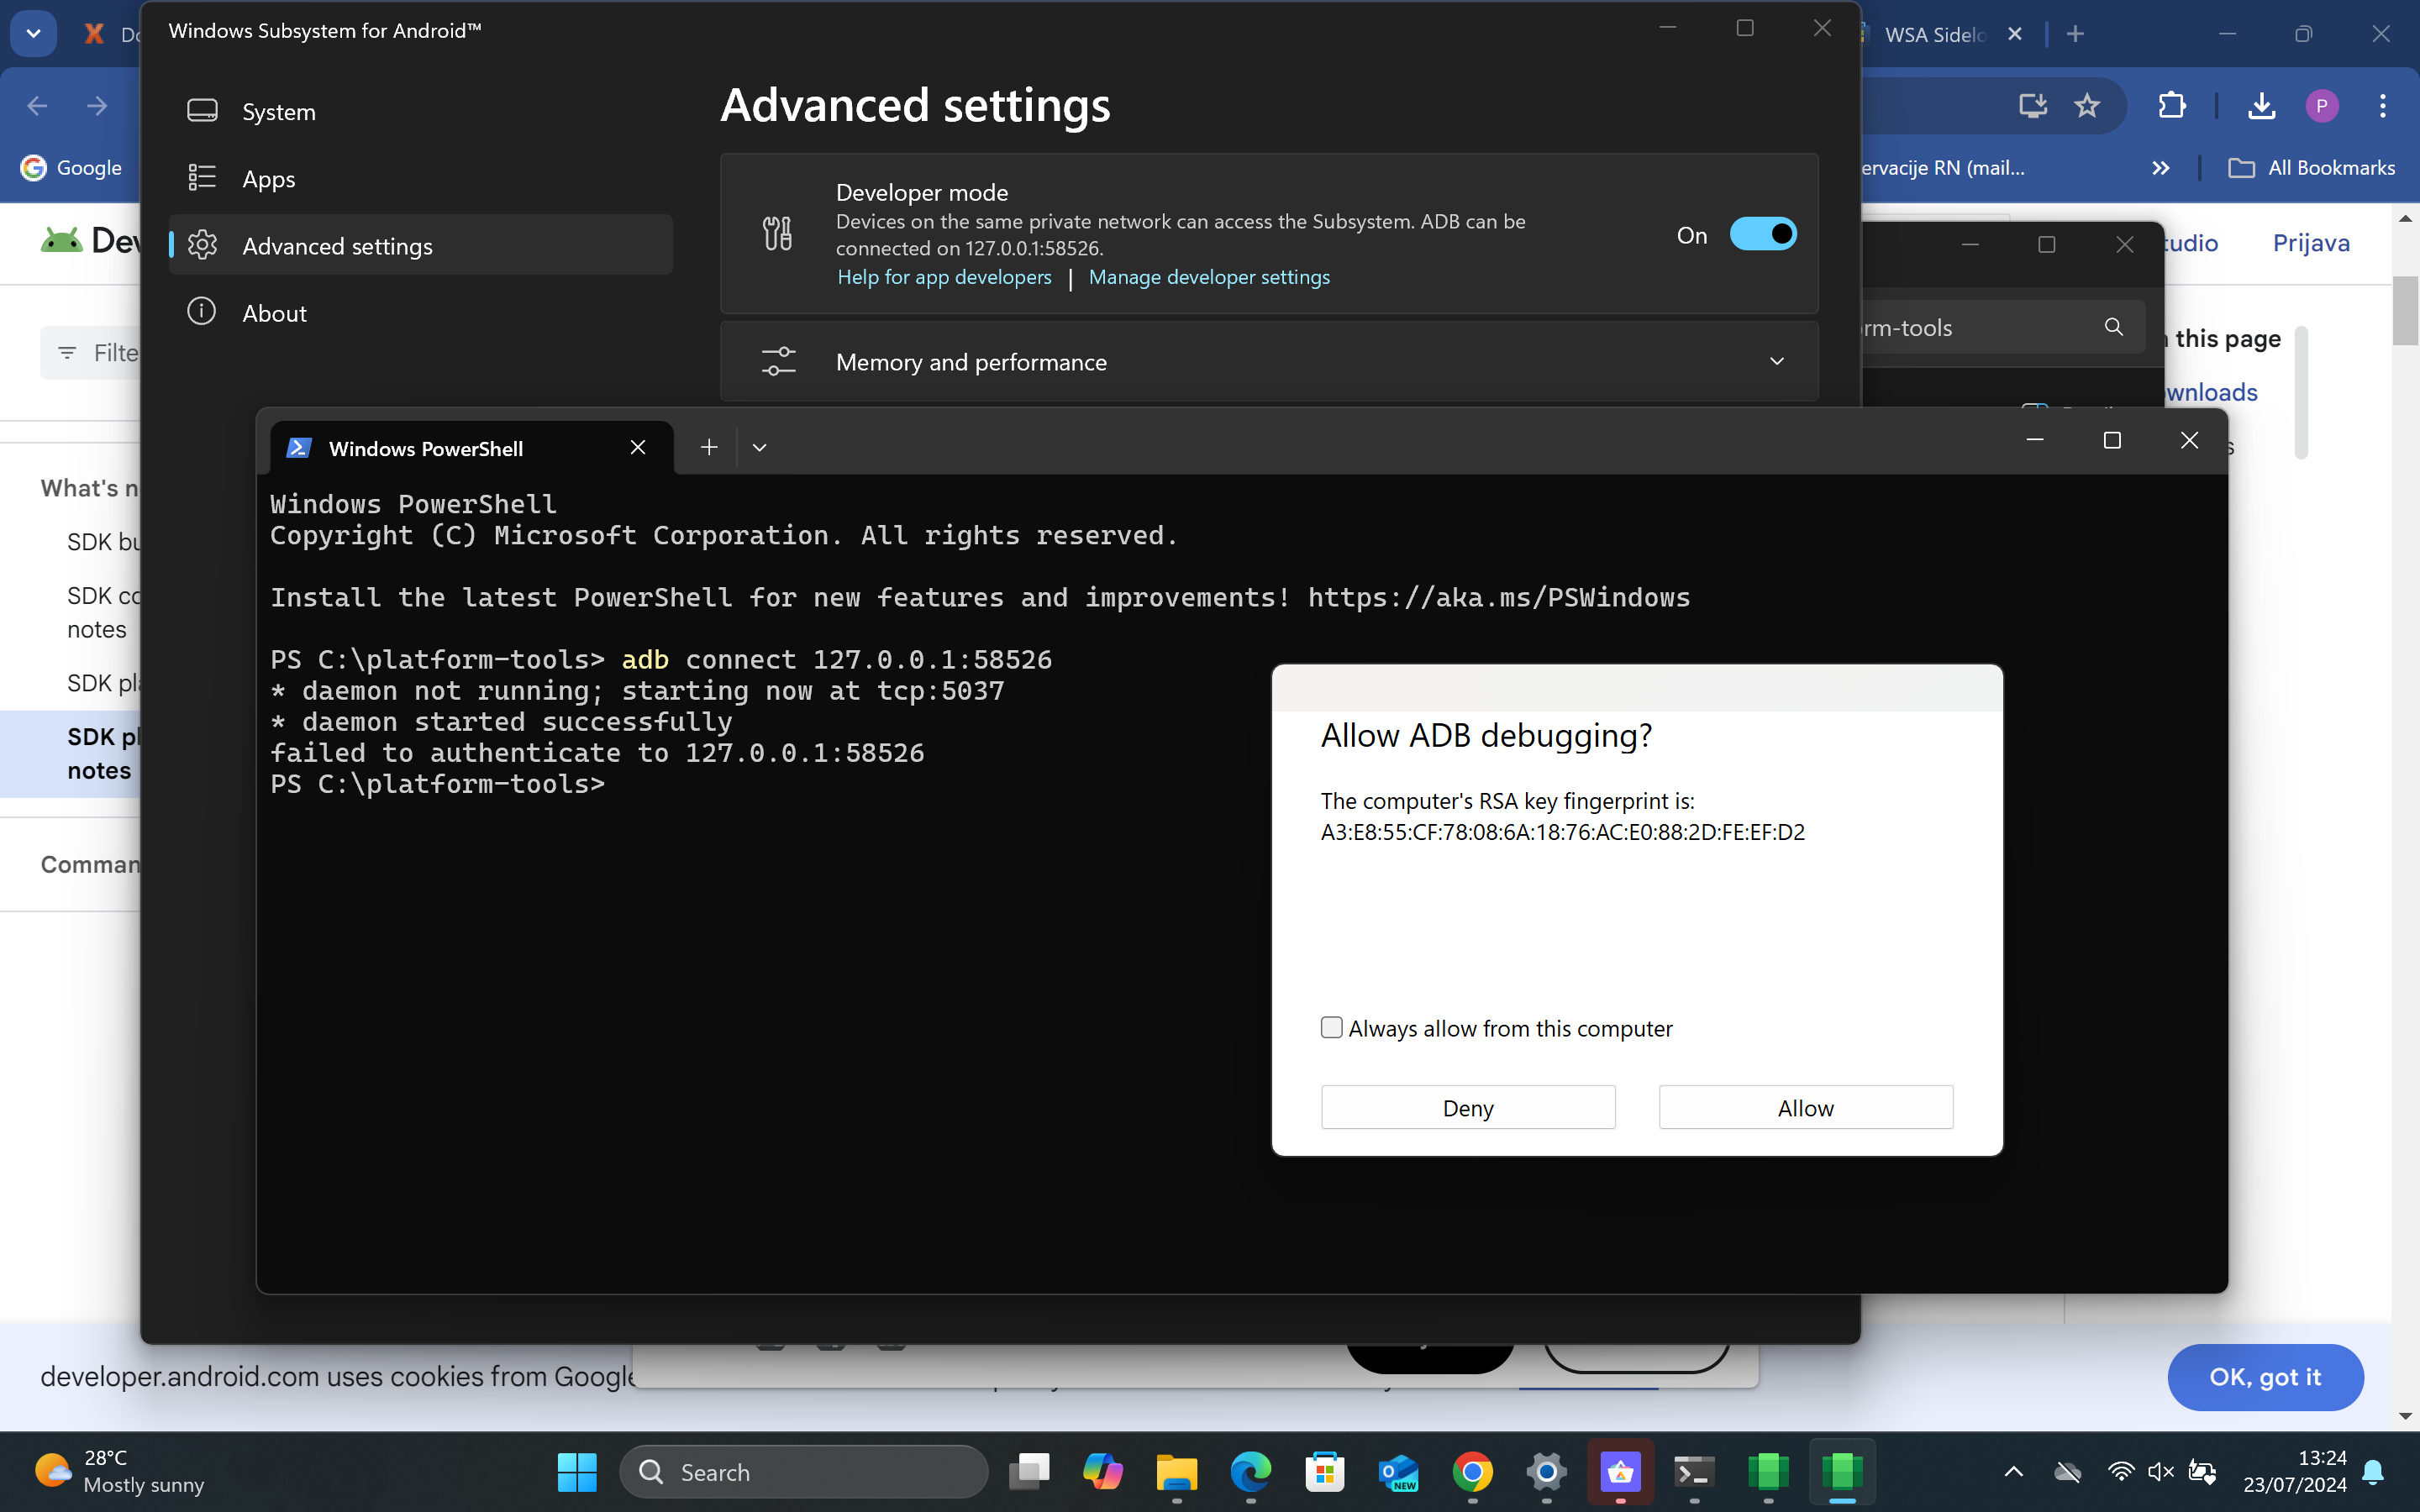
- In the Windows subsystem for Android, go to advanced settings and turn on developer mode. A new number will appear in the description.
- Type the command in the terminal adb connect and add the number you got in advanced settings.
- You should now be connected and a pop-up will appear asking you to grant permission to the Android Debug Bridge.
- Copy the Aurora Store app to a folder tools platform and type the command in the terminal adb install AuroraStore_4.5.1.apk (or the name of your version).
- Aurora Store is now installed.
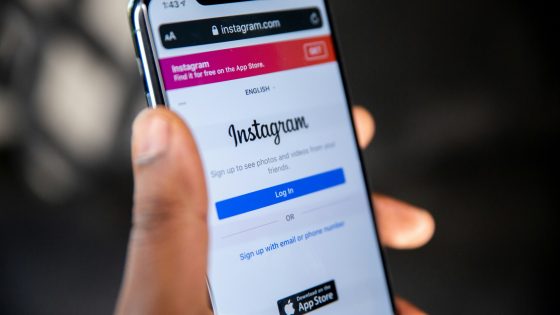
You should now have access to Android apps. Download the apps you want/need or think work better on Android, like Instagram, TikTok and the like.
The WSA will be available until March 5, 2024, so be sure to save any data you don't want to lose before that date.