How to properly install the protective glass on the phone?
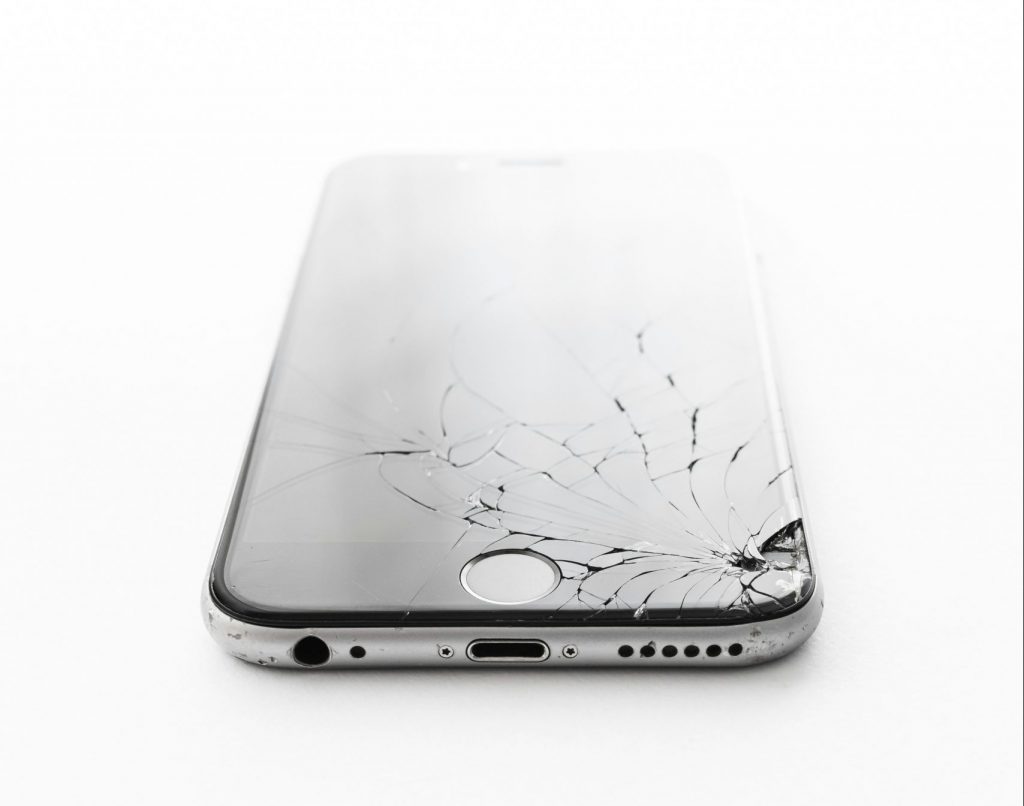
So far, the screens have always remained intact. So the protective glasses did their job well. After all these experiences, I can say that I have some experience with changing and installing protective glasses on different phones.
I have noticed several times that users have quite a few bubbles under the glasses. I couldn't handle it at first either, especially on the curved screen. I have read and reviewed quite a few tricks to come up with a final process that is relatively reliable.
I must point out that I only have experience with tempered glass. There are quite a few other types of protection, such as PET/TPU plastic or liquid nano protection.
First of all, the question is, do we even need protective glasses?
Huawei uses Kunlun Glass, Honor has started equipping its best phones with a protection they call NanoCrystal Shield, Samsung has always used gorilla protection, the latest Galaxy S24 Ultra has Corning Gorilla Armor, iPhones have Ceramic Shield (which is also a product of Corning), Vivo phones, when they were still in Slovenia, swore by German Schott protection...
With all these protections, we users can rightfully wonder if we really need additional protective glasses. Manufacturers claim that their phones can survive a drop of one meter or even more, scratches and minor bumps should not affect the beauty and performance of the phone. Is installing protective glasses just an old habit from the past, when smartphones were not yet so reliable and resistant? Maybe. Smartphones have undoubtedly become more durable. The mentioned protections not only protect the screen, but increasingly also the back side and also the cameras. Of course, they cannot compare to the durability of older phones, such as the Nokia 3310, but those were other times.
I have experience using the phone with and without additional protective glass. What the protective glass gives me is a sense of peace. In long-term use, it certainly helps to prevent micro-scratches and damage, and there is nothing wrong with having an additional protective layer between the screen and a hard object in case of falls and impacts. What I can say is that my Huawei Mate 50 Pro would certainly not have been spared when the cat mistook the phone for a toy and tested the strength of the screen with hammers. The damage was limited to the protective glass, which I was able to replace in a few minutes. The question is what would happen without this additional protection. In any case, I wouldn't look forward to a screen repair.
If I compare the two phones that I use every day, the phone with the protective glass has noticeably less micro scratches and the effects of rougher use. When you sell the phone, with a protective glass, you will have a better chance of being able to write that the phone is indeed free of scratches and visible signs of wear.
The protective glass installation process from start to finish
Install the protective glass in a well-lit area, where it will be easier to see if dust has caught on the phone. It will also make it easier to align the glass with the edges of the phone. Before doing so, thoroughly clean the surface you will be working on to reduce the presence of dust and other particles. A good trick is to go into the bathroom, turn on the shower, turn the temperature all the way up and let the moisture and steam trap the dust. Wait for the steam to dissipate and then clean the surface on which you will apply the glass again. Before that, it is wise to wash your hands and dry them with a dry towel. Avoid paper towels. Their fibers can quickly transfer to your hands and then to your phone screen.
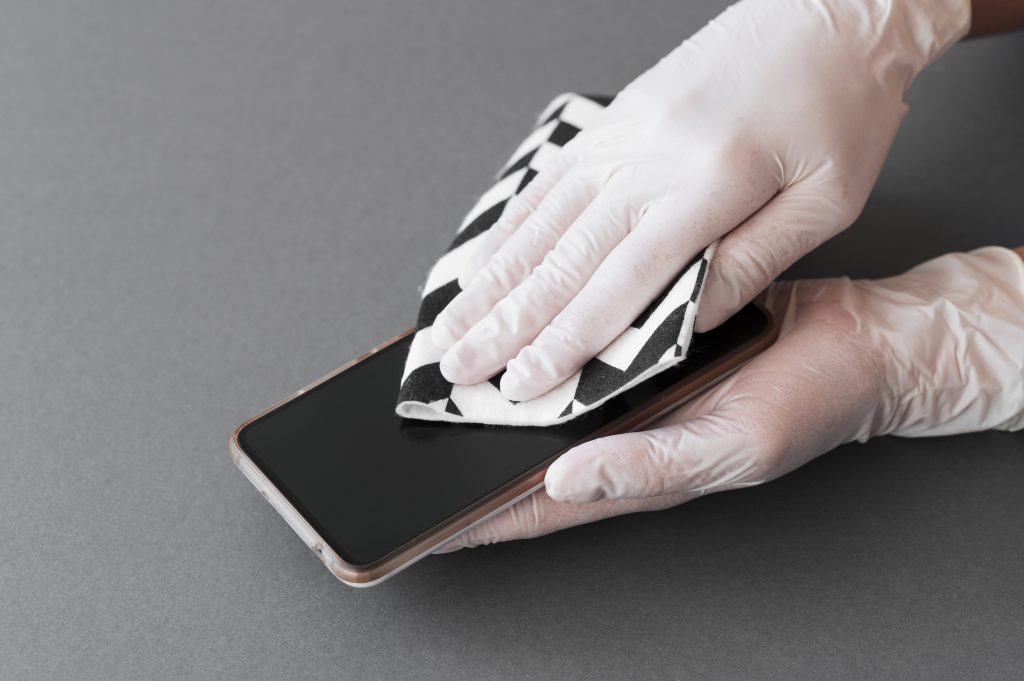
Now you can start preparing your phone. Clean the screen with a wet wipe, which is usually included with the purchase of the protective glass. Check if there is already a protective film or foil on the phone. We don't want to stack protective layers on top of each other because that can affect the responsiveness of the display and the under-display fingerprint reader.
Then use a dry microfiber cloth, which is also included in the package with the protective glass in most cases. We use a dry microfiber cloth because it does not leave fibers behind. You can also use the microfiber cloth that you use to clean your glasses. If you notice a micro scratch during cleaning, you can try to remove it with toothpaste, a mixture of toothpaste and baking soda, or polishing paste. I don't know how reliable these solutions are, I've seen online that some have been successful in covering scratches, but they certainly don't work on deeper damage.
If you still notice some dust, you can help yourself with adhesive tape.
When you are sure that the screen is free of dust and other dirt, it is time to install the protective glass. I do this by having the screen protector in my hand and right above the screen so there is very little space between them for dust to collect. The adhesive side is understandably facing down. I peel back the plastic layer to reveal the adhesive, hold the glass aside and gently place it on the phone's screen, making sure it's properly aligned. I usually refer to the notch behind the front camera. Before I drop the protective glass onto the screen, I double check that the glass is really flush with the screen. Correcting a mistake later can be very painful.
When the glass is on the screen, I press a finger (or two) down the center of the screen, or swipe down the middle with two fingers and wait for the air bubbles to escape over the edges. It may happen that one will get caught, then I gently push it towards the edges. You can use your fingers or use a flat object. You can also try just gently lifting the edge closest to the bubble. Be careful not to damage the glass.
I also had a case where a lone air bubble absolutely did not want to leave its place. I used the phone for 24-48 hours before I gave up and installed a new glass and the problem resolved itself.
What if you notice dust on your screen protector after you've already installed it? All is not lost. Place a piece of tape on your finger, with the sticky side facing up (not towards your finger). Gently lift the edge of the glass, slide the tape onto the screen, place the screen protector on top of it with the dusty side down, and then gently lift it up again. It's not easy, and success is not guaranteed, but you can still try.
You can also use the entire process on tablets, Nintendo Switch consoles, Steam Decks, and other devices that we like to further protect.
The protective glass only protects the front side. If you want to protect the edges and the back, then you will need to buy a cover. Samsung, Honor and Apple have removed it from the packaging, so you will have to buy it separately for their phones.
What about curved screens? Application is a little more difficult, but after just placing the glass on the screen and pressing or pulling across the center with two fingers, I managed in 90 % cases.
What about foldable phones? The protective glass is installed only on the outer screen. There are also protective glasses for the inner screen, but applying it is not recommended because it can compromise its durability.
Which protection to buy?
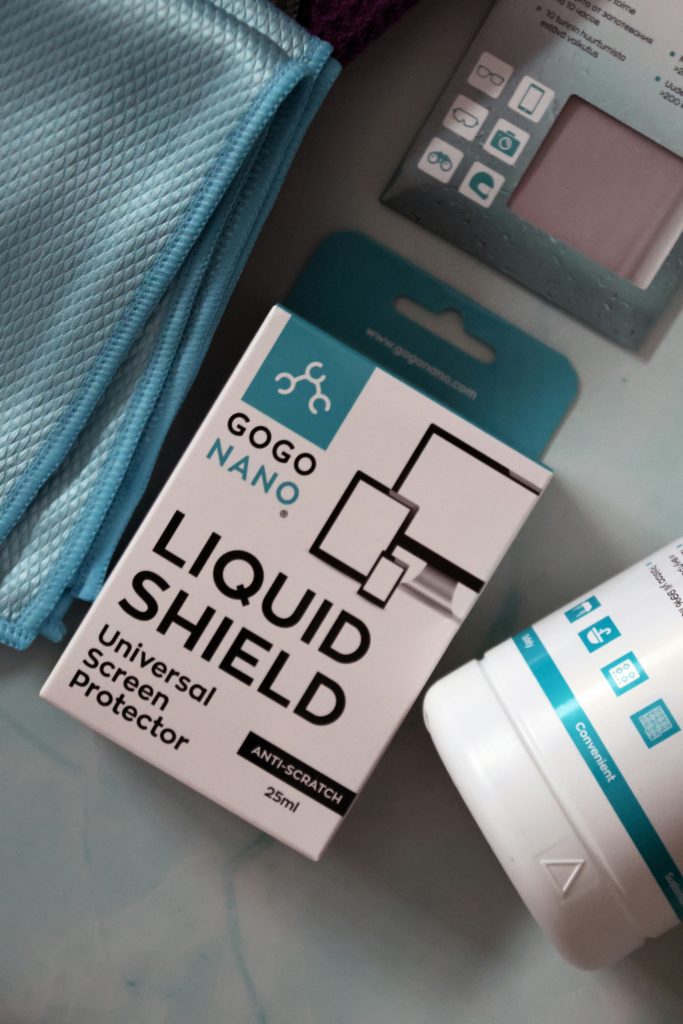
Whether you buy tempered glass, plastic, nanofluid or something else is up to you. Users have a poorer experience with nano liquid, the plastic protection is less noticeable on the screen, and in general, tempered glass is the most popular. Whether you will buy them in official branches in Slovenia or in China is also your decision. I have tried both and have always been satisfied. Arguments against the Chinese versions usually refer to the fact that they are of lower quality and that they affect the responsiveness of the fingerprint reader. In my use, neither one nor the other was a problem.
You will also find protective glasses where a plastic case is included for easier installation. I haven't tried it, judging by the videos the installation works fairly easily, but I can't say what the percentage of successful applications is.


